
The information you’re trying to access is not available until you log into your learning platform. Please log in, click on the Help option in the navigation, and you’ll be able to access the information you’re trying to find.

The information you’re trying to access is not available until you log into your learning platform. Please log in, click on the Help option in the navigation, and you’ll be able to access the information you’re trying to find.
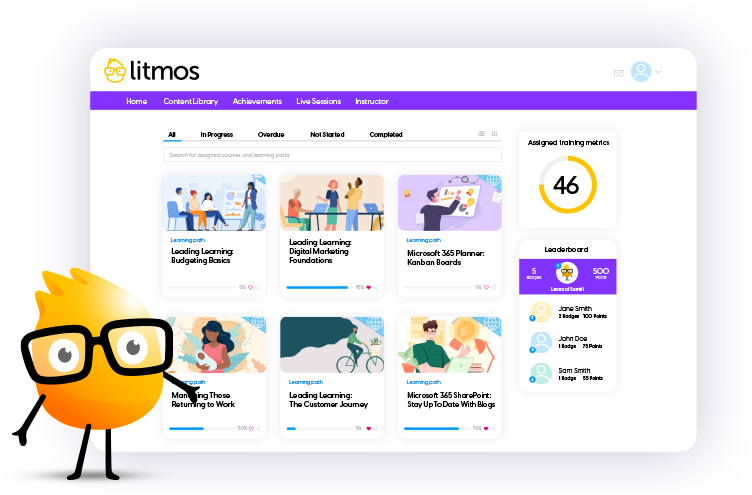
Start your 14-day free trial with absolutely zero risk or obligation to purchase. Test drive our Premier LMS and see for yourself how our learning solution can improve your learning program outcomes! We have flexible purchase options, including an option to buy directly through the trial!
Free Trial